Prettify Ugly Feet with Feet Makeup
Are you cursed with ugly feet? Many of us are – feet that look as if they could belong to a duck-billed platypus; feet that are so stubby you wonder how you can balance on them at all; flat feet, feet full of corns or calluses or corns; protruding, angry-looking bunions (which incidentally can be as painful as hell), strange toes, or toenail fungus sprouting all over the place – many things can contribute to having a pair of ugly sisters down there.
Of course, it’s even worse when spring and summer are just around the corner. Sandal wearing time! Purgatory for anyone with unsightly or hideous-looking feet.
But fear not. All is not lost. There are things you can do to help remedy those gross-looking tootsies; what’s more, you can do these things at home. The pedicure, the elegant shoes are well documented. The real secret is in the foot makeup.
The ABC of Prettifying Feet
A. At home Foot Pamper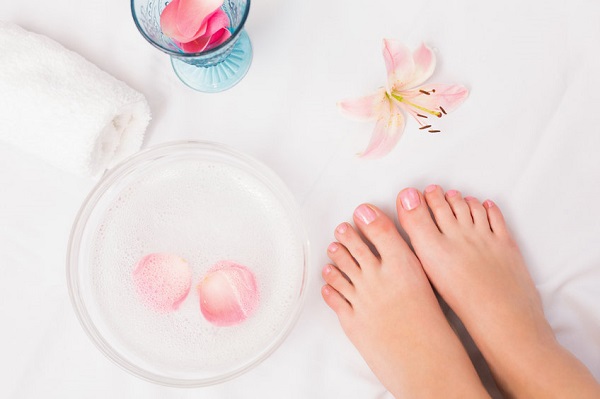
You can always have a professional pedicure. But some of us girls don’t like other people touching our feet, and some of us are too embarrassed to display their uglies to strangers. Pro pedicures can be costly, too, and if you’re on a tight budget, the do-it-yourself approach might appeal. So best foot forward (the ugliest one first), and here we go.
What You Will Need
- A bowl (or you could always use a bidet – shades of Crocodile Dundee)
- A foot soak
- Cotton buds
- Moisturizer for cuticles
- Emery board
- Nail file
- Nail polish remove
- Toenail clippers/scissors
Once you’ve amassed all the bits and pieces and you’ve got your cuppa or G&T, we can make a start.
Step 1
First, the toenails. Remove any nail polish and carefully trim your nails back. Ideally, they should be trimmed a little below the end of your toe. The toenail shouldn’t be any longer than the toe itself.
Step 2
Ahh – foot soak time. Place your feet in a bowl of nice warm water. You can use our foot soak recipe.
Allow your feet to soak for five minutes, then remove them, pat them dry, then apply a little quality moisturizer to the cuticle. Let it soak in for a couple of minutes, then gently push your cuticles back with a cotton bud or your finger.
No sharp or harsh tools, please. If you damage the skin at the base of your nail you are more likely to pick up a fungal infection or develop a yucky thing called paronychia. let’s not do that.
Step 3
Immerse your tootsies back in the bowl and continue soaking for another 10 to 15 minutes. Remove and pat dry.
Step 4
Now it’s time to tackle any ugly callouses and cracked skin. You can use a callus remover, a foot file, or a pumice stone (or a blend of all three) to get rid of as much dead skin as possible. Don’t go overboard and make your feet bleed, though. Gently does it.
Step 5
If you’ve got any nasty little corns, they’re next. Using the soft side of an emery board, gently file and smooth the little beggars to reduce their size as much as you can. Don’t try and get rid of them in one go. You might overdo it. Once you get into the home pedicure groove, you can repeat this operation as often as is needed.
Step 6
Now it’s time to exfoliate. You need a foot scrub for this. You can make your own using a cup of sugar, some almond, olive, or coconut oil, and your preferred essential oil. Combine everything together until it forms a texture like damp sand.
Apply the rub to your feet and massage. Once you’ve finished, pat your tootsies dry, and apply a foot moisturizer, and work well in, not forgetting to get in between your toes. Massage the entire foot area, soles and ankles included.Be sure not to leave any globby excess moisturizer in between your toes.
Step 7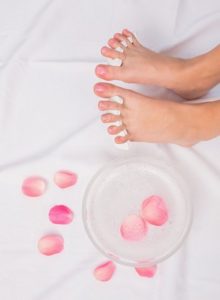
Back to your toenails. Make sure any remains of oil or moisturizer are cleaned off, and the nails are nice and dry, it’s time to paint and polish them. Have you seen the foam tow dividers? They make the painting job so much easier especially if your toes are a bit scrunched up. You can add as many coats as you like, but the ideal is two undercoats and one topcoat to finish off. To apply the polish right to the end of the nails but avoid painting your toes, inserting some little strips of bandage tape under your nails should do the trick.
B. Makeup for Feet
Moisturize
As with all makeup, well-moisturized skin gives a better final finish, especially if you have calluses or corns. If you can use a foot-specific foot cream the effect will be much better.
Primer
If you have never used a primer under your makeup you might think it is a bit over-the-top. Well, I disagree and once you have used a primer you will never go back. I haven’t found any primer specifically for feet so I use a face primer. You don’t need very much, and use it only on the top and sides of your feet.
Concealer and Liquid Foundation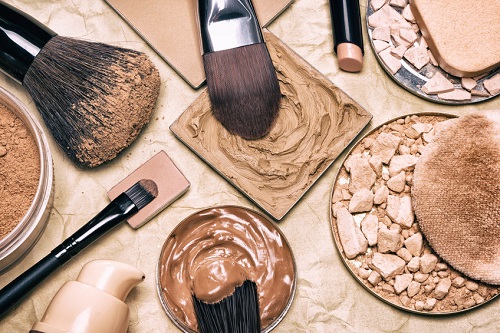
Makeup artists tell me they use foundation first then concealer to cover facial skin inconsistencies. When it comes to your feet I do it the other way round. The feet problem areas are the joints of the toes (including a bunion if you have one and the back and front of the ankles. Foundation, with or without concealer takes away the shine around the joints but dryness is a bigger problem at the back of the ankle. Using a moisturizer there is vital before using the foundation. Another ugliness is the veins that look like worms on the top of your feet or spider’s web of veins around the ankles. If that sounds like you, you will probably need the concealer as well. For darker skins, where the toe and ankle skin creases can be very very dark, concealer and foundation can smooth out the uneven tones.
Top Tip: Concealer and Foundation on dry flakey skin looks completey tragic. The foot pamper and moisturize is seriously important.
Tanning Products
Tanning products help improve the appearance of the skin – especially on very pale skin. As all girls know, skin creases (like knees and elbows) are the enemy when using tanning products. The feet and ankles can produce particularly nasty effects. The creases at the back and front of the ankles and the nobby bits on your toes are tricky, but experienced tanners can do well. Fake tan will not cover the problem areas but will not attract peering eyes the way that neon white skin does.
Toe Nail Polish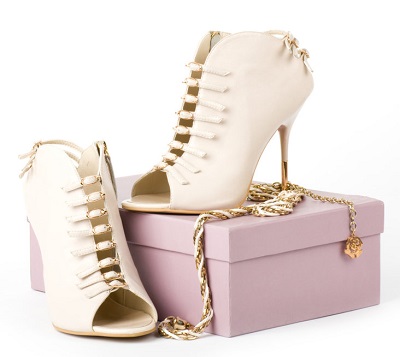
Toenail polish is a bit of a double-edged sword. Nicely cut and shaped toenails with stunning polish can be spectacular, gorgeous and sexy. Nail polish on thick, gnarly toes just attracts attention to the gnarly bits. Keep it real girls – check the opinion of a trusted friend or sister before you go all out. If your toenails are really revolting you might consider artificial toenails – not an easy fix, but it is an option for the desperate.
C. Hide Your Ugly Feet in Elegant Footwear
One way of dealing with the ugly appearance of bunions, twisted toes or beastly nails is to invest in some attractive-looking footwear. With the ugly part of your feet secreted inside a lovely-looking pair of shoes or sandals, regular foot pampers and a little makeup will make the visible part of your feet as attractive as can be so that only you and those close to you know what lurks beneath.
You might think you have ugly feet, you might even be right. Get going with a foot pamper, some makeup for feet and finish with show-stopping shoes and you will ready to face anything. It starts today.